In collaboration with YouTube creator AramK, we bring you a series of Davinci Resolve 16 tutorials to help you get your video project off the ground.
Calibrating Your Monitor – Color Management & 3D LUT Creation
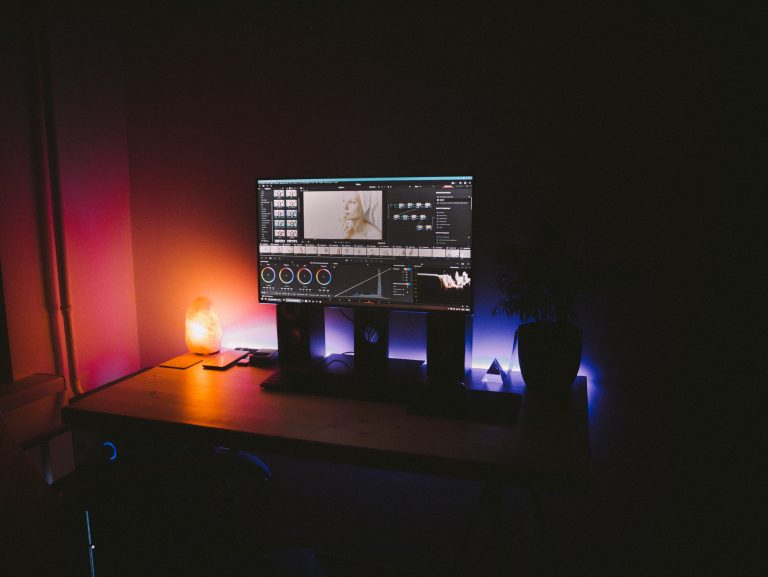
We will be covering two different methods to calibrate your display for color grading in DaVinci Resolve. I’ll also be using an iDisplay screen calibration tool that connects to my computer via USB.
First, we will initiate calibration using your computer’s operating system. Whether you use Windows or IOS, we will calibrate our display via color management. These settings will be different depending on the computer you have.
Display CAL
You can download Display CAL for free to use for monitor calibration. So, download it and start the program. At this point, I also have the iDisplay calibration tool connected via USB.
On the Display CAL screen, you should see a settings window that opens on Display & Instrument. Make sure the output level is set to full range. Leave the mode to default (LCD).
Next, we move to the “Calibration” tab to access those settings.
Starting with observer, leave what you have as the default and don’t touch the whitepoint. If you set your white level anywhere between 89-120, you’ll be fine. Also, it is not recommended to click ambient light adjustment for consistency.
Next is the “Profiling” tab. Select auto-optimize for the testchart setting, and then adjust the number of patches to about 1000-2000.
For “Verification”, this will simply verify how accurately the monitor calibration process went.
3D LUT
This is a professional method used for external monitors that accept LUT. You can also change 3D LUT within DaVinci Resolve, but it is not the optimal method.
So, using Display CAL, navigate to Display & Instrument, and change your display to Resolve. Leave the rest of the settings alone except under the 3D LUT tab. Always check the option to create 3D LUT after profiling.
Your parameters for 3D LUT will be different depending on your system and color goals for whatever project you are completing. Launch DaVinci Resolve, and the rest of your monitor calibration will be generated by DaVinci Resolve.
Hit play on the video below to see AramK show you how to calibrate your monitor for color grading in DaVinci Resolve.
Looking for a Particular Topic In the Video?
- Begin – 0:14
- Display CAL – 1:45
- iDisplay tool – 2:06
- Display CAL options – 2:29
- Calibration options – 4:10
- Profiling options – 7:00
- Verification options – 7:55
- Calibrating & profiling – 8:30
- 3D LUT – 12:40
- Launch DaVinci Resolve – 15:38
- Final thoughts – 18:00
Key Takeaways
Keep in mind that everyone’s computer system is different. So, you may see slightly different settings.
There are two different ways you can calibrate your monitor. The first way is using your computer’s operating system. Download a program called Display CAL and also connected iDisplay, a USB monitor calibration tool. Make sure your display has RGB mode so you can adjust everything properly.
The second way to calibrate your monitor is by using 3D LUT within the Display CAL software.
Extra Resources
- Download the latest version of DaVinci Resolve for free