n collaboration with YouTube creator AramK, we bring you a series of Davinci Resolve 16 tutorials to help you get your video project off the ground.
Color Grading for a Commercial-Style Video
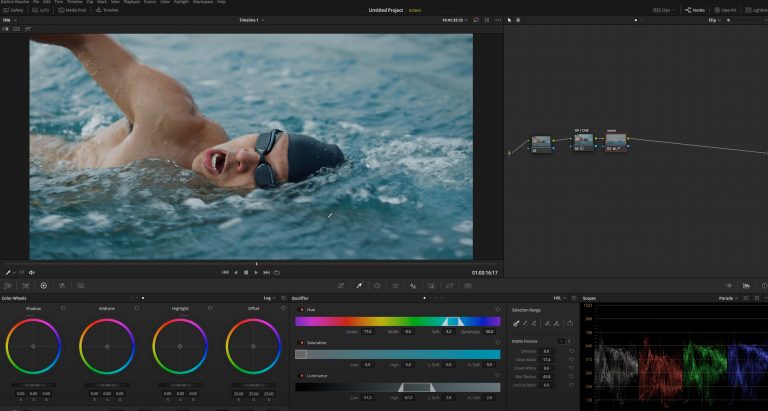
This tutorial will show you how to achieve a color grade style suitable for commercial videos, similar to advertisements or anything commercial related. We will be using footage of a swimmer in a pool.
So, to get started color grading your footage, add a new node and name it exposure/contrast. All you will need to do next is play with the contrast to ramp up the color depth. Note that we are not dropping the black colors all the way down.
Add another new node to fine-tune the look. For this specific case, we will call the node water. Go to your qualifier and turn on highlight before clicking on the water to select all of our subject.
Next, we will clean up the blacks and the whites found in the water before blurring the radius. You can access those settings in the matte finesse panel.
After altering those settings, we will start introducing saturation to the water. I add teal to create a more pleasant look to the water, but this is your personal preference.
Add another node and connect it to the previous one. Go into key input and reverse your previous selection so we can work on the skin. Introduce contrast or minimize it according to your commercial video needs. You can adjust contrast in various ways.
Another trick is to go into DaVinci Resolve’s “window” panel and make a selection around the main subject. Inverse the selection and introduce a faint vignette to draw the eyes towards the subject.
Finally, you can add another serial node to do a technique called bleach bypass. This involves using the RGB mixture in monochrome to adjust the RGB channels.
Watch On YouTube
Hit play on the video below to see AramK show you the basics of commercial-style color grading in DaVinci Resolve 16.
Looking for a Particular Topic In the Video?
- Begin – 0:10
- New node – 1:29
- Another node – 2:34
- Qualifier – 3:10
- Saturation – 4:00
- Another node – 5:00
- Window – 7:00
- RGB – 7:45
- Final result – 9:45
Key Takeaways
Commercial videos typically need a punch of contrast, saturation, and color depth to make them appear high-quality. Keep the contrast and color grade looking natural yet hi-def.
Note that we do not drop the blacks down all the way to preserve our color. It is also essential that you add new nodes along the way to work on one area of the video at a time.
Extra Resources
- Download the latest version of DaVinci Resolve for free
- Download free RawFilm stock footage shot on RED cinema cameras
Thank you for reading and watching! We will see you soon with another DaVinci Resolve tutorial.