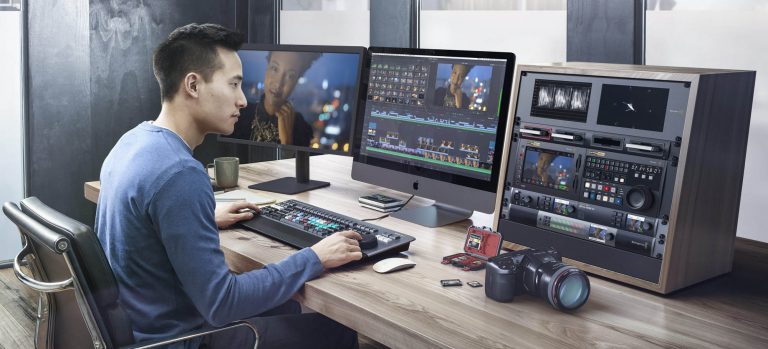
In collaboration with Youtuber AramK, we bring you a series of Davinci Resolve 16 tutorials to help you get your video project off the ground.
No more excuses, studio-quality video editing is now available for everyone
We’ve come a long way since the days when filmmaking was the exclusive domain of big studios. Powerful all-in-one tools have made professional post-production workflows available to anyone. This software provides high-end video production without demanding special equipment or Hollywood budgets. All you need is a quality laptop and the willingness to learn.
Among these tools, Davinci Resolve stands out for its performance and powerful color grading. All these features are available in the free version of the software. If you still need extra power and capabilities you can get the studio version for $299. For the average user, though, the free version is more than enough. This has made Davinci Resolve a favourite among vloggers, freelancers and video professionals.
Today we‘ll go through everything you need to get started with this awesome software.
Looking for a particular topic?
- Navigating the workspace (0:42)
- Importing your footage and prepping it for editing (1:39)
- Editing your footage (3:41)
- Introduction to the color grading workspace (8:52)
- Improving performance/playback with render cache (12:24)
- Introduction to professional audio editing in Fairlight (13:13)
- Rendering and Exporting your footage (14:18)
Getting great footage for your project
When you have a good post-production tool, it becomes easy to “fix things in post”. But don’t forget your footage! It’s both easier and faster to edit or correct well-filmed and thought-out clips. To get that perfect shot, some will tell you to invest in high-end gear. Others will tell you to start applying the right strategies and techniques. We won’t tell you what’s right or wrong – there are plenty of websites and youtube videos that can do that better than us.
Another option is to let someone else do the hard work by using high quality stock footage. This is great for all your B-roll, background elements and transitions. With the right stock footage, you can even produce an entire music or promotional video.
But doesn’t stock footage look cheap, impersonal and generic? Not at all! Most live-action films you’ve seen have used stock footage without you noticing. That’s because the secret to great stock footage lies in the post-production pipeline. Once edited and color graded to match the style of the movie, stock video blends into the rest of the footage. It’s what all the professional studios do – and you can do the same!
There are many good sources of stock footage online. But if you’re looking for real cinematic footage, then stock video from Rawfilm is what you want. Rawfilm only provides footage produced with authentic RED cinema cameras in high resolution (8K, 5K, 4K, etc.). The videos are compatible with Davinci Resolve and are available with or without color grading.
Sign up to Rawfilm for cinematic stock footage you can use for your Davinci Resolve project!
Key takeaways
Davinci Resolve 16 has become an industry favourite for good reason. The price is affordable, it packs a lot of power and it allows you to do things your way. To get the best results, though, don’t forget to focus on your footage!
If you haven’t already, get the free version of Davinci Resolve. Then pick up some stock footage and start editing!
Have you used Davinci Resolve before? Let us know in the comments below!
We’ll see you next week with another Davinci Resolve tutorial!
Resources

