In collaboration with Youtuber AramK, we bring you a series of Davinci Resolve 16 tutorials to help you get your next video project off the ground.
Advanced Noise Reduction with Davinci Resolve and Neat Video
Both digital and analog video will have some degree of noise (or grain). It’s inescapable! What matters is whether the noise is desirable or not. When you add “film grain” you are mimicking the noise profile of particular film stock for artistic effect.
Undesirable noise takes away from the artistic quality of the footage. This is distracting and makes the footage look unprofessional.
The source of noise will vary depending on what camera you are using. In a digital camera, the cause is usually incorrect ISO settings, underexposure or interference.
In analog cameras, noise is usually caused by underexposed film. It can also occur because of how an analog film is developed.
There are several things you can to prevent unwanted noise. Ensure your lighting is adequate and choose colors less prone to noise. Another option is to use the optimal camera settings when capturing your footage.
Should you still end up with undesirable noise in your footage, most video software can reduce it. If that isn’t enough, you will need to use something more advanced. Or even dedicated noise-removal software.
In today’s tutorial, Youtuber AramK shares his best tricks and tools for advanced noise reduction:
Looking for a particular topic?
- Converting the footage to Rec709 (0:49)
- Tweaking white balance (1:43)
- Fixing chroma noise in Davinci Resolve (2:10)
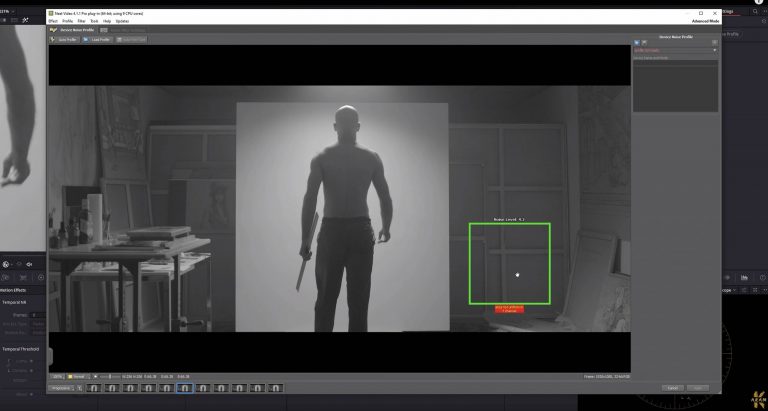
- Fixing luma noise with the Neat Video plugin (2:43)
- Viewing the result (6:51)
Neat Video
Good de-noising software can salvage otherwise unusable footage. Sometimes a good denoiser can even make the salvaged footage artistically pleasing. AramK used Neat Video to de-noise footage in today’s tutorial. Neat Video is a plug-in for professional de-noising of video footage. It’s available in both free and paid versions. Keep in mind that Neat Video needs a lot of computing power. Make sure that your computer has plenty of RAM available.
The footage used in today’s tutorial was shot on a RED cinema camera. The RED cinema cameras aren’t immune to noise, but their resolution and dynamic range will make any noise far less noticeable.
Rawfilm is a website that produces in cinematic stock footage. All videos are filmed with authentic RED cinema cameras. They are compatible with Davinci Resolve and are available with or without color grading. Members get access to free sample videos at 5K and 8K resolutions.
Sign up to Rawfilm for cinematic stock footage you can use for your Davinci Resolve project!
How do you deal with noise in your footage? Let us know in the comments!
We’ll see you next week with another Davinci Resolve tutorial!
Resources
- Download the free version of Davinci Resolve 16
- Free Rawfilm stock footage shot on RED Helium
Neat Video plug-in (https://www.neatvideo.com/)

